You could be forgiven for thinking product photography is pretty simple. You flick through a website or scroll through your social media and see scores of beautiful pictures of products. It’s easy to take it for granted and think “How hard can it be?”
People come to realise quite quickly that taking lovely product shots is a lot harder than they thought.
Obviously my first suggestion if you’re looking for great product photography is to contact our team here at Flat Frog. We are product photography and e-commerce experts with more than a decade of experience. Although it’s cheaper to do it yourself, research shows time and time again that quality images pay for themselves.
But I’m guessing that’s not why you are reading this article. You want me to spill the beans and give you some top tips on how to take amazing product shots without having to pay for a studio or photographer.
So let’s assume you don’t have any professional equipment, just your iPhone or smart phone, along with some normal household items laying around in your home and a MacBook Pro or iMac to edit on.
Here’s a list of household items you will need;
Some pieces of poly board or white sheet
A roll of white wallpaper
Roll of tape
Some black objects
Some sheets of A4 paper
The first thing we need to understand is what makes a great product shot. For me, it’s something clean clear and simple and taken at an angle that is most flattering for the product. With lighting that doesn’t distract or take away from it.
LIGHTING
We need to assess the best place in your house to take the pictures. Photography is all about lighting so we want to find the best lighting situation possible. Now that doesn’t mean the place where light blasts through a window. What we’re looking for is somewhere nice and bright where lighting is a little bit diffused.
If we use my house as an example, the best place for me to take pictures is my conservatory. It has windows all the way around but we have blinds over all the windows which defuses the light.
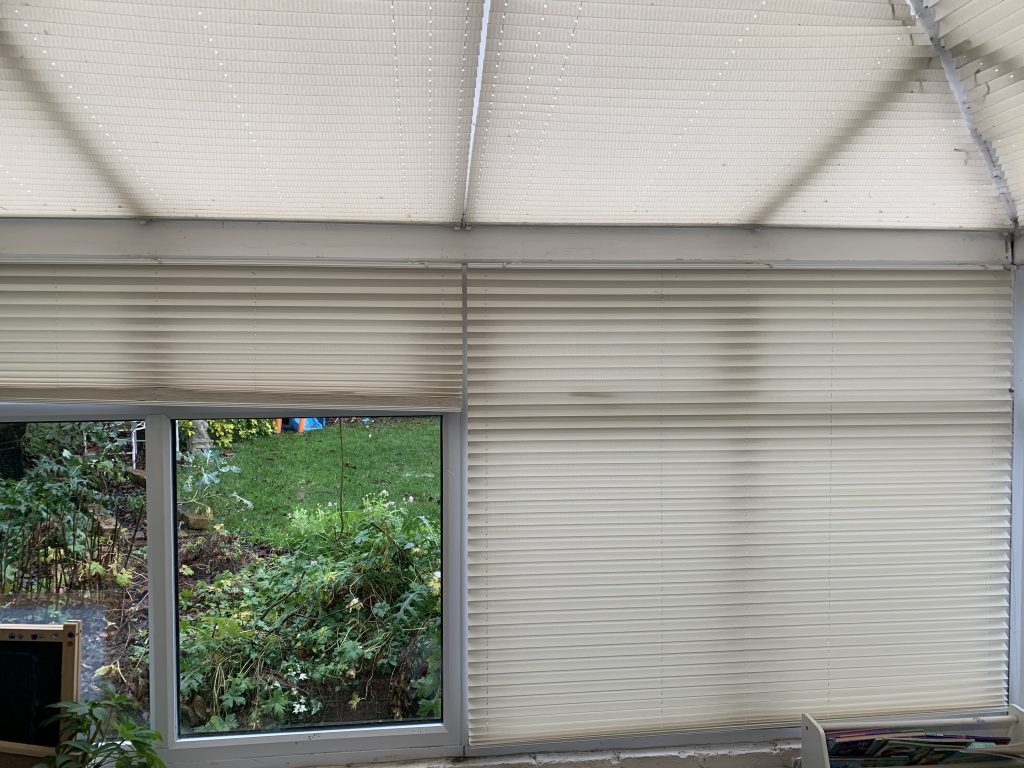
This creates nice even consistent lighting with no harsh direct lighting coming through any of the windows. This is the perfect spot in my house to take good quality consistent product pictures.
Try and find a similar place in your house, that has nice even consistent lighting ideally near to a window but not directly in front of it.
One of the main issues you experience when trying to take photographs in your home is consistent lighting. Certain lighting doesn’t play well with other lighting, for example LED lighting doesn’t work well with halogen lighting. This is because they are at different light temperatures. Light is measured in KELVIN. For example daylight will be 5200 Kelvin while the lightbulbs you have in your front room or bedroom will probably be 3200 Kelvin. Or to put it simply, a little bit yellow, whereas natural light is quite white. Mixing the two together can easily confuse your camera and result in images that don’t reflect the true colour of the product.
ONE OF THE REASONS THE LIGHT IN MY CONSERVATORY WORKS SO WELL IS BECAUSE I DON’T HAVE TO USE ANY ARTIFICIAL LIGHTING SO I’M NOT COMBINING DIFFERENT KELVINS, I’M JUST USING THE NATURAL LIGHT FROM OUTSIDE WHICH IS DIFFUSED BY THE BLINDS.
THE BACKGROUND
Many clients come to us after trying to take pictures themselves and they’re always in a little bit of a state after trying to get the images on a pure white background.
It’s a very difficult thing to achieve in a home environment, in fact it’s almost impossible.
On many of the images that we take, we have professional editors carefully cut out the product and place it on a pure white background. They then add drop shadows and reflections.
If you’re trying to achieve the same effect in the home with no professional lighting it’s literally impossible. So what we going to do is get you the best quality images possible with the equipment that we have at hand.
What we can achieve is a nice clean ‘off white’ background, which to be fair is much more popular than plain white background at the moment. In fact we are doing more light grey and off-white background these days than pure white.
Time to take out our white wallpaper or white sheet. If you’re using the sheet you’re going to have to make sure you put it very very tight to get rid of all of the wrinkles and creases.
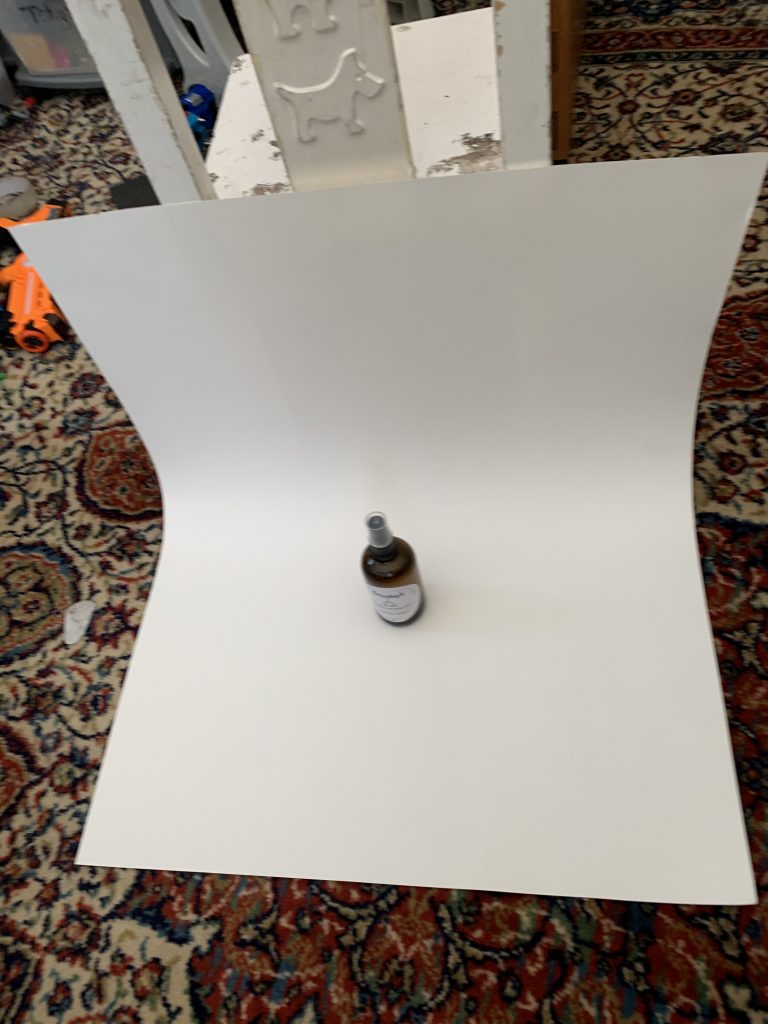
What we are going to create is a curve in photography that we call an infinity curve. This is where we take a sheet and create an L-shape. The L shape of the curve means we create a consistent background behind the product.
You can use the items that you have around the house in order to build the foundation for your curve. Maybe using pegs, clips or tape. Attach one end of the paper onto a chair and have the other end on the floor to create an L-shaped. So now we have a miniature curve and a nice bright part of the house.
THE PRODUCT
The next thing to consider is the product that you’re taking pictures of. Anything that is shiny or reflective or made out of glass is going to be very, very difficult to shoot. I say this from experience! We are professional jewellery photographers shooting small, shiny objects. They are the single hardest thing to photograph because you have to learn to manage the reflections as well as conceal the camera.
If you’re shooting glass items this will also be very difficult. At the studio we back light the glass and this gives that nice sharp, clean, clear effect. We also use objects to manage reflections so we have that contrast.
But let’s assume that you’re not shooting something shiny, reflective or made out of glass. It’s a nice simple object that you want to shoot, so the first thing to do is decide on your angle.
In my opinion one of the worst angles is the one that we have all the time as human beings, that same perspective which is basically looking down on the product from an angle.
What we want to create with a product shot is a different perspective. Personally I prefer the hero type of shot. This means the camera is slightly lower than the product and shooting it creates almost an emperor affect and makes the product look grand and important.
COMPOSITION
The next thing to consider is your composition; where the product sits within your frame. Do you want to get it nice and central? Move the item around to find the best possible angle.
A great tip is to shoot images at slightly different angles and then review them objectively.
Have a look at what the slight changes in angle did to the shadows and brightness of your product.
If you have too much light hitting one side of the product, you need to soften that light source. Work out where that light is coming from and use the sheets or piece of poly board to block out that light slightly.
Equally, if there is not enough light hitting a side of your product you can use the same equipment i.e. the poly board or the sheet to bounce light onto that surface.
Once you have images you are happy with you can save them and start to edit them. Let’s assume you don’t have any professional editing software, that you’re literally just using a MacBook Pro or an iPhone. You are simply going to use the built in editing software in your ‘Finder’.
The quickest way to get the images off your phone and onto your MacBook Pro is to AirDrop them. If you don’t know how, a quick Google search will teach you. It’s very simple.
Open up the image from your downloads folder and we’re going to do some simple but effective editing.
If you open up the ‘tools menu’ and scroll down to ‘adjust colour’, we can do a little trick to make the white background even whiter.
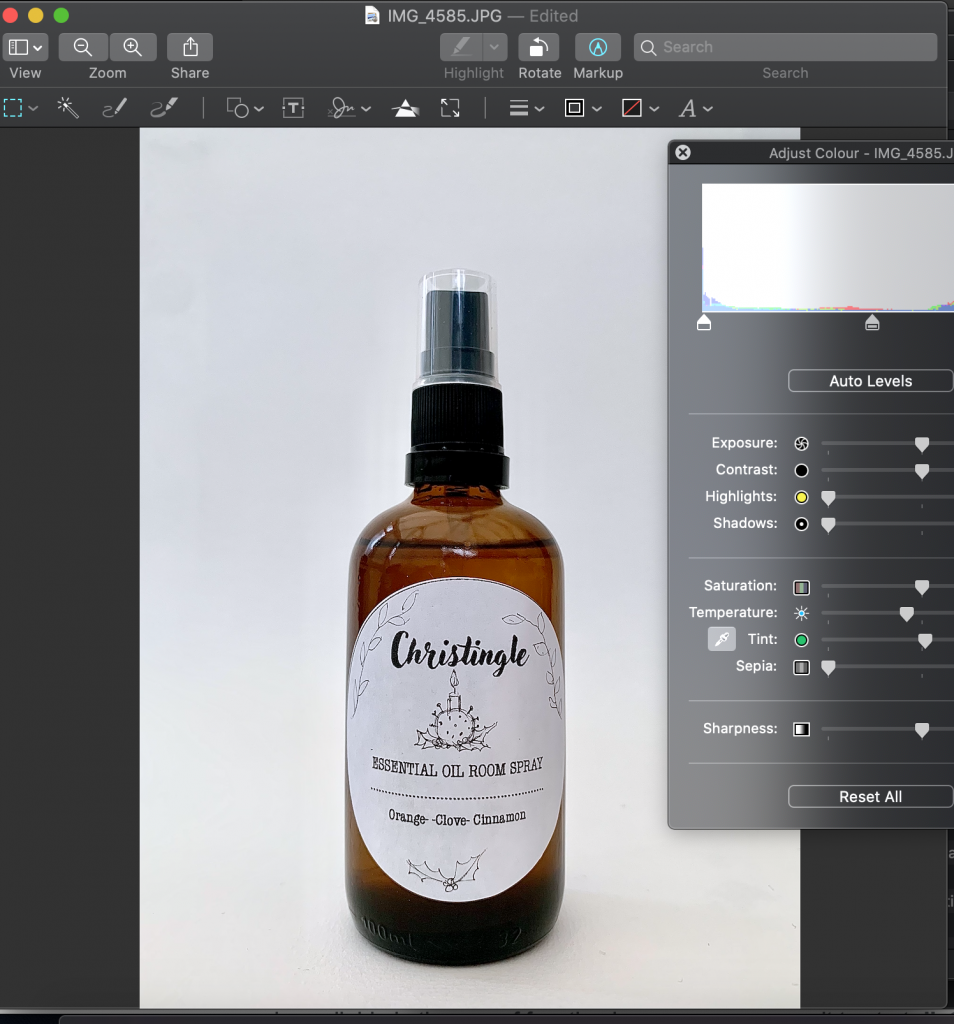
Select the ‘ pipette’ and then take a ‘pick’ from the least white area on your background and then click. This resets the white balance on your picture.
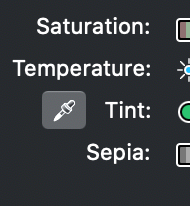
We now want to play around a little bit with the brightness and contrast; raising up the blacks and raising up the brightness together until you’re happy with the finished result.
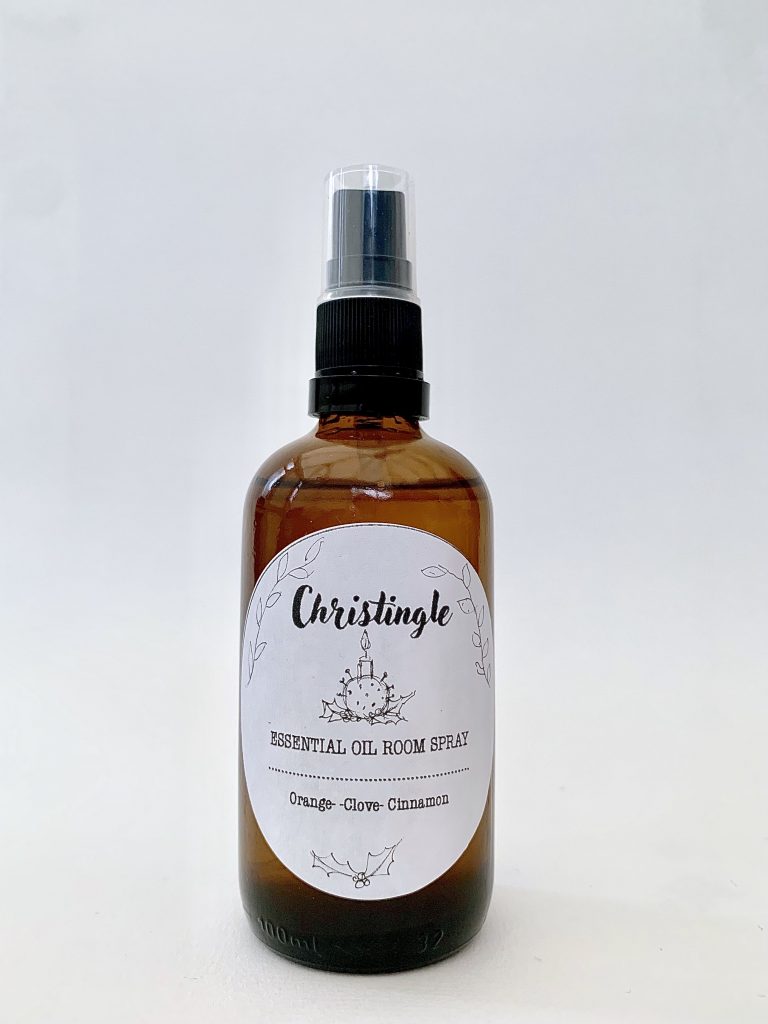
And hey presto! You have your first packshot.
